I got my nail dotting tools I ordered from Amazon.com yesterday, and I had to try them out. Trying to figure out what design to do with them was the hardest part, but finally I decided on leopard print. I truly LOVE the way they turned out, and the only issues I had was using my left hand to dot on the leopard print. I'm sure that will get easier, the more that I do it. Alright, now onto the fun part.. How I did it!
I started with Jordana 090 White, as a base coat. I only painted on one coat, because it's going to be covered up, so it was unnecessary to have it perfect. Let the base coat dry. I used the widest part of a cosmetic foam wedge, and painting three colors horizontally. Using
Pure Ice Splash,
Pure Ice Wild Thing and
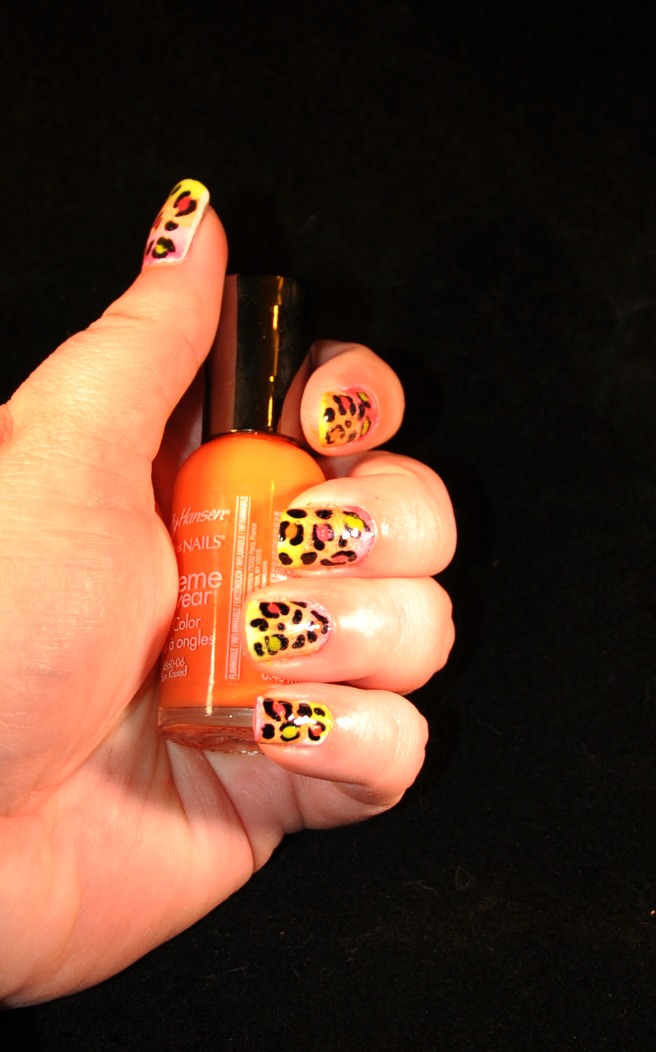
Sally Hansen Hard as Nails Xtreme Wear Sun Kissed. Then I pressed the wedge onto my nails, while re-applying the colors for each nail. This technique is a bit messy, so you may want to tape up the sides of your fingers to avoid paint on your skin. I have read that some women wet the foam wedge first, I found this to not be as effective as leaving it dry.
Once the gradient paint has dried, it was time to use those new dotting tools. I used Kiss Nail Art Paint in Black, dobbing a little on a scratch piece of paper, so that it's easier and more available to apply to the dotter. There's plenty of tutorials on youtube.com on how to create a leopard pattern. I glimpsed at one of them a few days ago, but really all that goes out the window once you start, you really have to gauge it for yourself. Add 3 to 5 incomplete circles on each nail, then fill in the gaps "spots". I used the same three colors to fill in the incomplete circles to complete the leopard patterns.
After letting it all dry, I used
Sally Hansen's Strengthening Top Coat, as a top coat. I'm super happy with the end result, and will be rocking these nails until my Konad polish comes in!